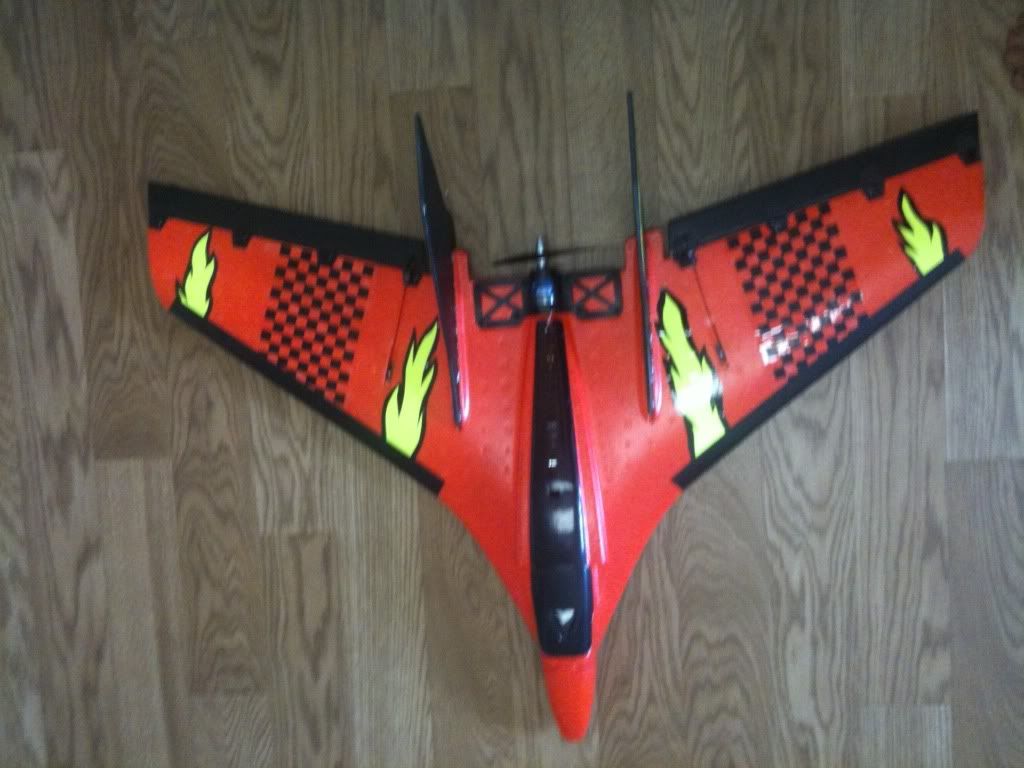
I've had a few requests on explaining how I do my custom paint and decals for my foamies. Here's two examples:
Stryker:
Fun Jet:
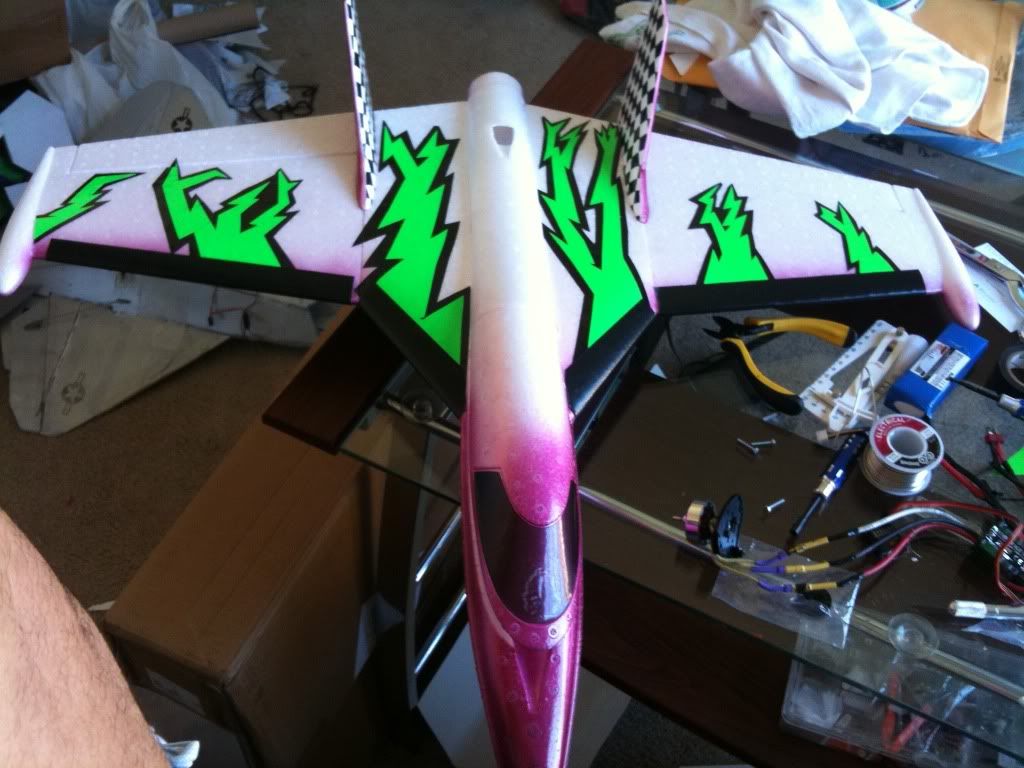
I took a few pics during the Fun Jet build, so let's try that one.
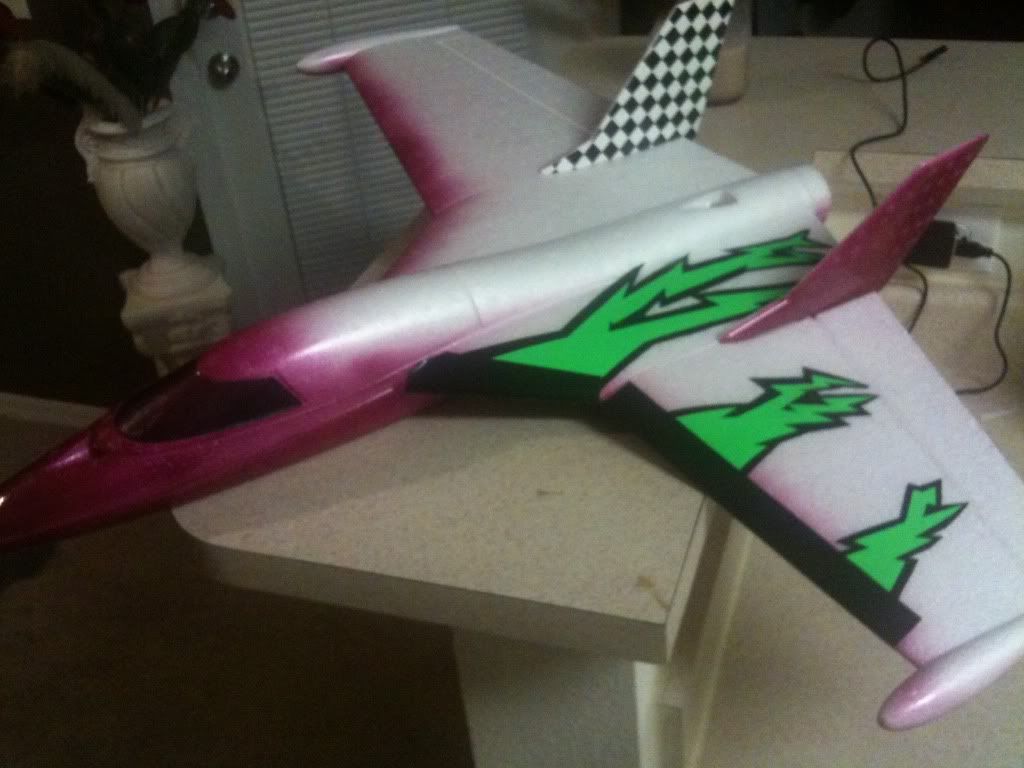
This is where I caught the build at and started taking photos:
****************
Picking the Colors
****************
The first thing I like to do is get an idea of what color scheme I want for the plane. With high powered planes like the Fun Jet and Stryker, I'm gonna end up taking them way out in the distance. Visibility is a must at those distances. Since the bottom of the plane is mostly shadowed by the sun, it only makes sense to paint it dark. I save the bright colors for the top so there's no question which side is which.
So with that in mind, pick a darker color for the bottom such as blue, purple, dark red, black, emerald green, etc. Now pick a really bright color that is complimentary to the dark color.
Here's a link to the color wheel:
www.google.com/images?hl=en&q=complimentary+colors&um=1&ie=UTF-8&source=og&sa=N&tab=wi&biw=914&bih=503Here's a link to a color scheme finder on the web:
www.colorschemer.com/online.htmlUse complimentary colors or pick something that you think will match. Don't use too many colors though, typically I stick with three.
Now, once you've found your colors, you need to pick a color that will outline your decal design. On the Stryker and on the Fun Jet, I used black to make the flames and the lightning bolts "pop" out at you. This is where your imagination comes into play. Just be sure that it pops drastically enough that YOU will be able to clearly see those colors at a distance.
***************
Buy your supplies
***************
By now I know what colors I want to use and I have a general idea of the design. The Fun Jet was my Joker plane (from Batman). I knew I wanted the bottom dark purple and it to overspray onto the top somehow. I also knew I wanted lightning bolts and checkerboard design.
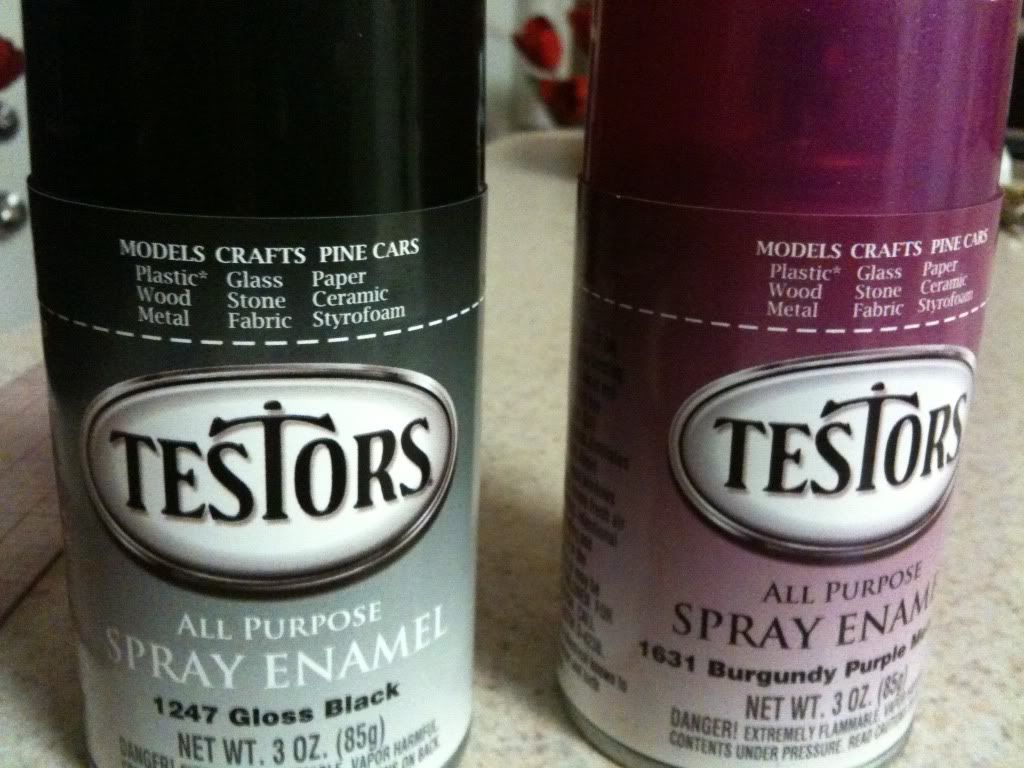
Your LHS should have a Testors Foam Safe Paint. I'd also pick up a clear gloss coat too:
It should also have decal sheets in strips of blank colors. Grab your fluorescent colors, your outline colors and checkerboard if you want it. Grab anything else you want too that you think may be cool.
************
Painting
*************
I'd take 19K's advice and use 220 grit sandpaper and soap and water and give the foam a little bath. This will get rid of the anti-mold spray the company puts on the foam. I have yet to do this because I'm lazy, but 19K says it really helps the paint from peeling when you pull back the masking tape.
First I always spray the bottom. Unless you want the overspray to creep around onto the top of the fuse, be sure to mask the edges of the fuse. Give the bottom a shot with nice even bursts of spray. Take your time, it should take multiple passes to achieve the true color.
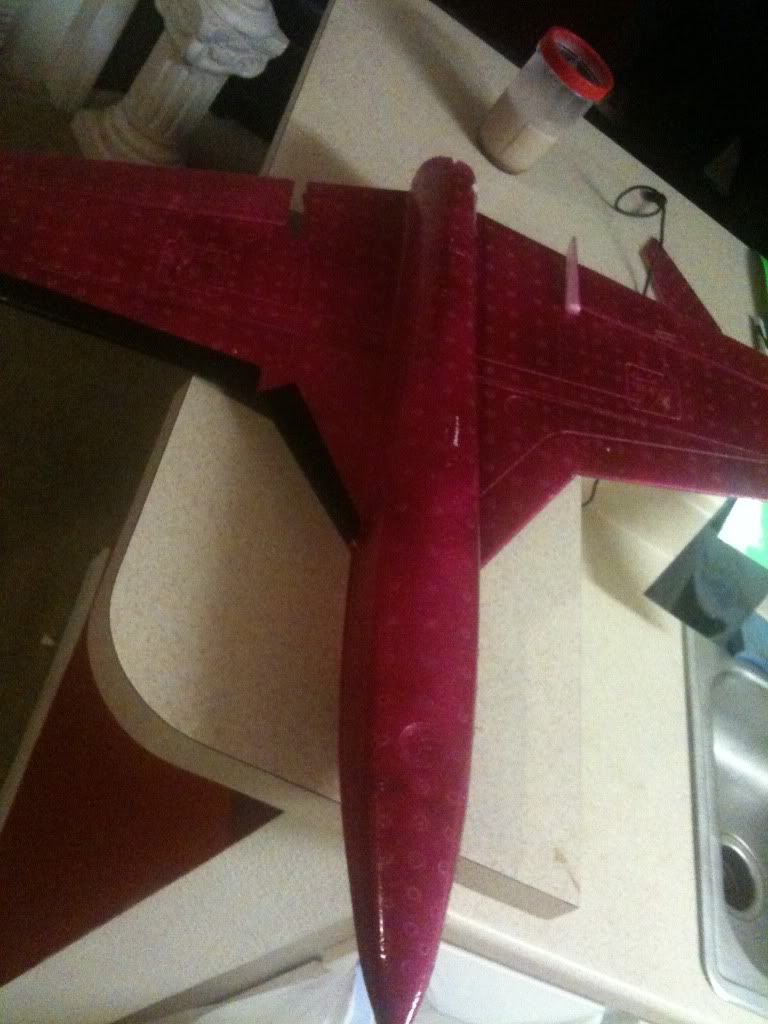
When that's dry (about 30-40 minutes for light handling) I flip it over and hit the top. I typically won't mask the edges and just try to shoot straight up and down minimizing overspray onto the bottom. In the case of the Fun Jet, I wanted it to look like she got sprayed from the front so I lightly shot the leading edges and hit the front.
I also masked and painted the outer sides of the vertical stabs purple.
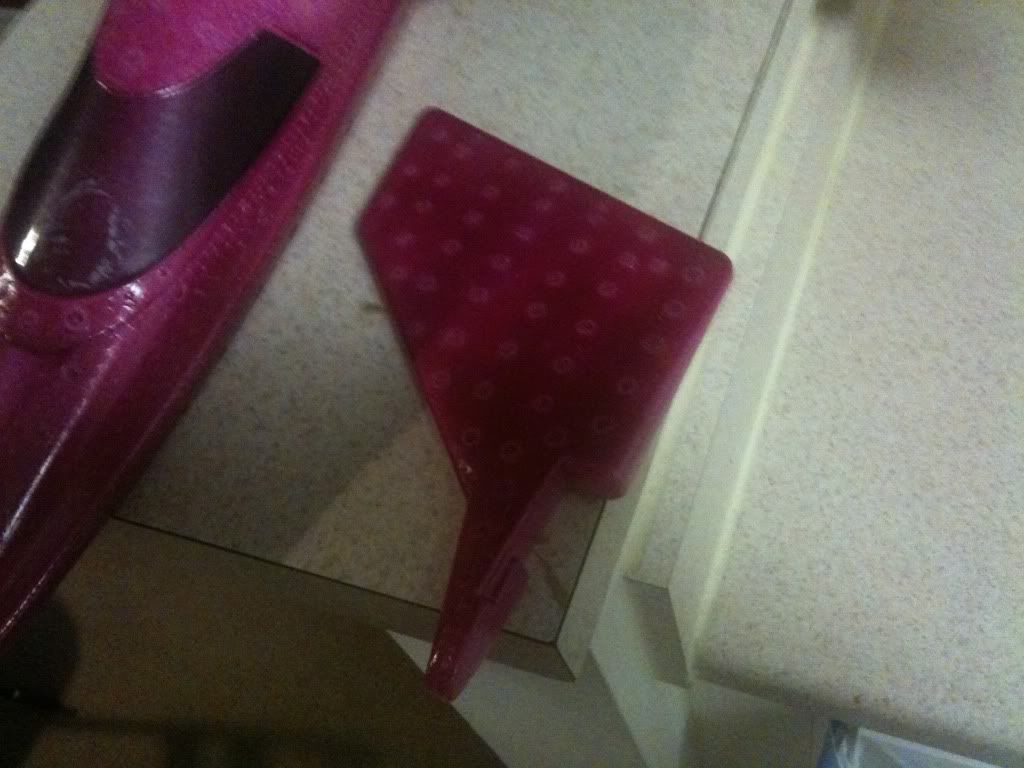
I'll typically let this dry for an hour before I start any other work. They paint has a tendency to flake if you handle it too early.
***********
Decals
***********
OK, here's the fun part that makes your plane look killer! To make the lightning bolts i started by cutting out a section of the green decal sheet to approximately fit where I want the bolts:
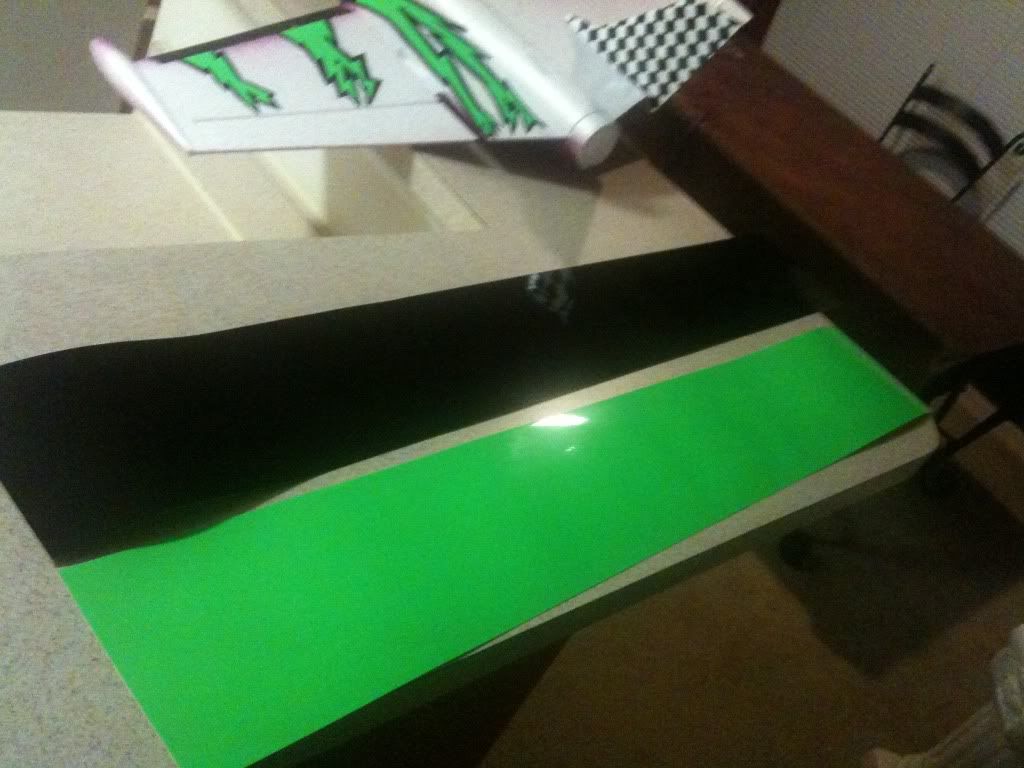
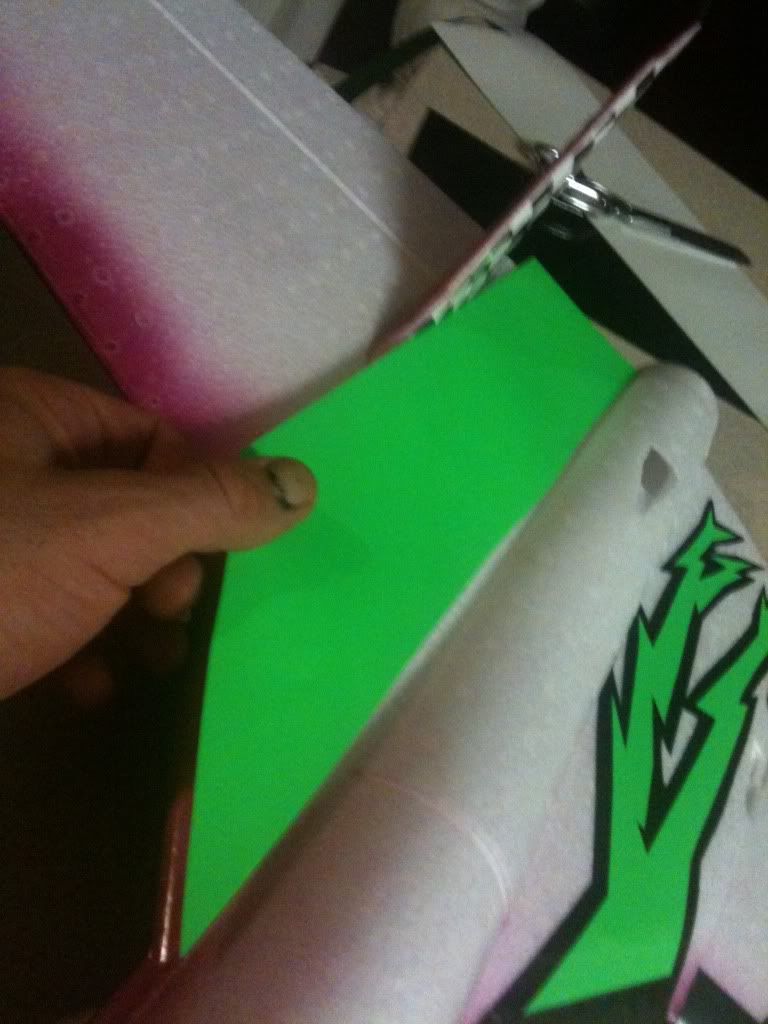
Next, I flipped the sheet over and traced a lightning bolt design on the back. Remember this will be inverted when you stick it on. So if its lettering, its gotta be mirrored:
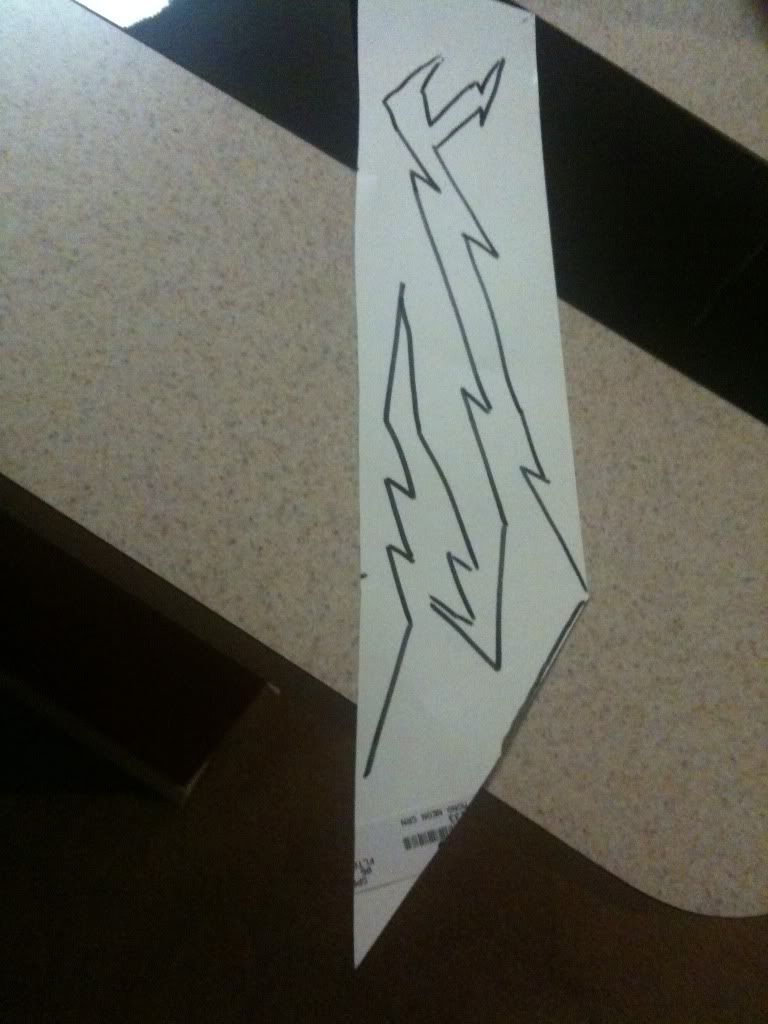
I then grab a sharp pair of scissors and go to town:
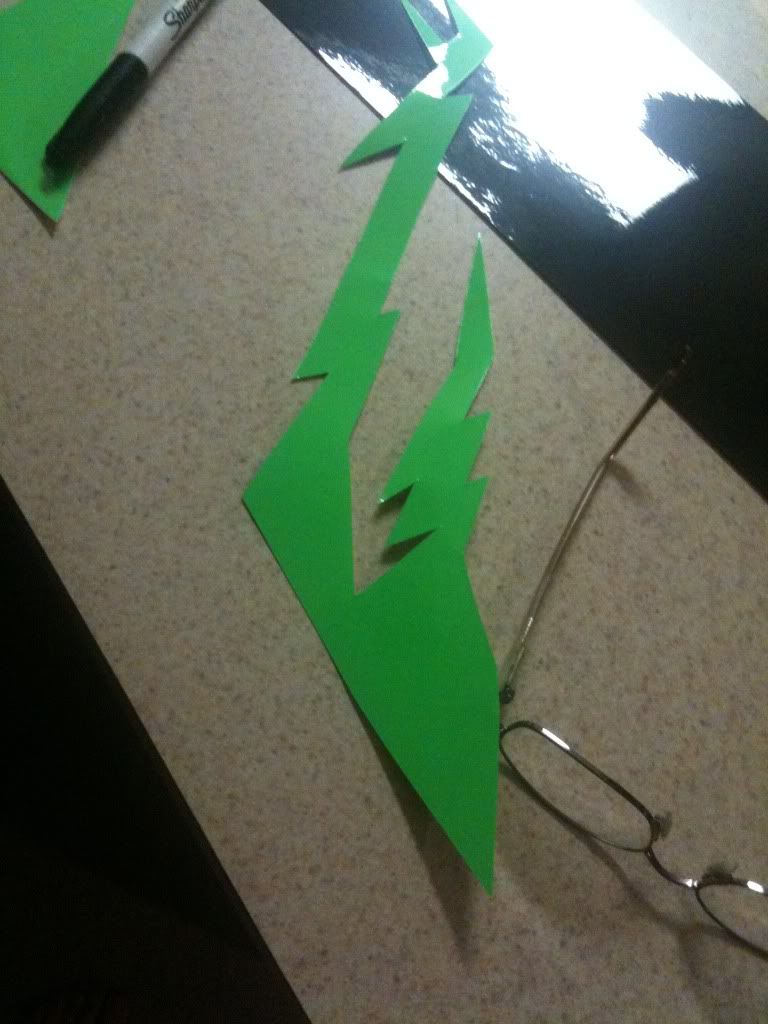
Next, I carefully apply my green lightning bolt to the black outline sheet. I start at the bottom and use a credit card to smooth it on. Then I go back and use the card to scrape out all the bubbles. Note, the design doesn't match the pic above because I accidentally ripped it and had to start over (but you get the idea). Then I cut an outline of the green lightning bolt. I just kind of eyeball this one, trying to keep the same thickness throughout:
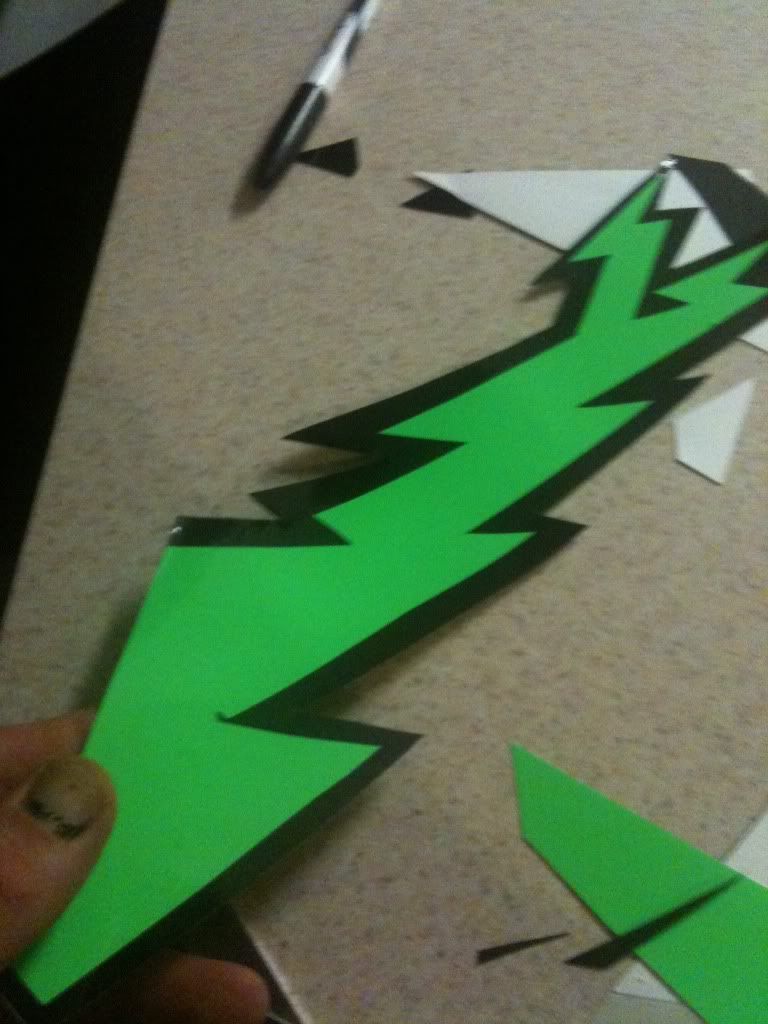
Next step is to slap it on the plane. I start at the leading edge and smooth it back with the credit card again. I don't worry too much about the leading edge matching up since I know I'm going to slap some Gorilla tape on there to protect the leading edges (they are belly landers after all):
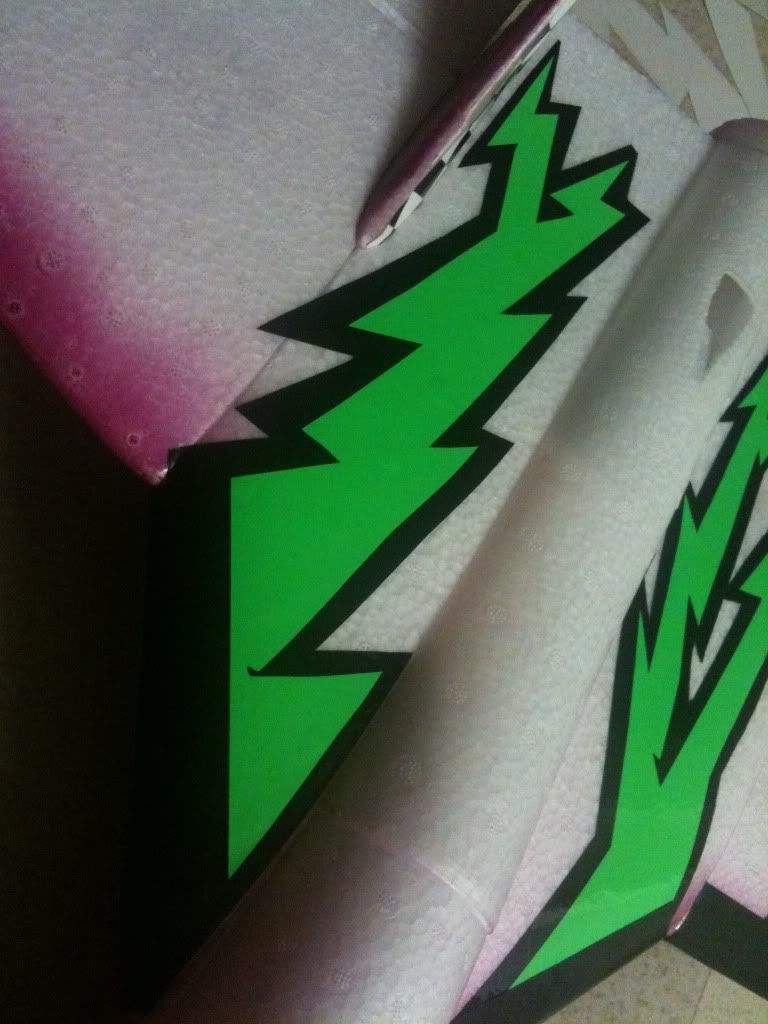
I did this three more times and this is what we have:
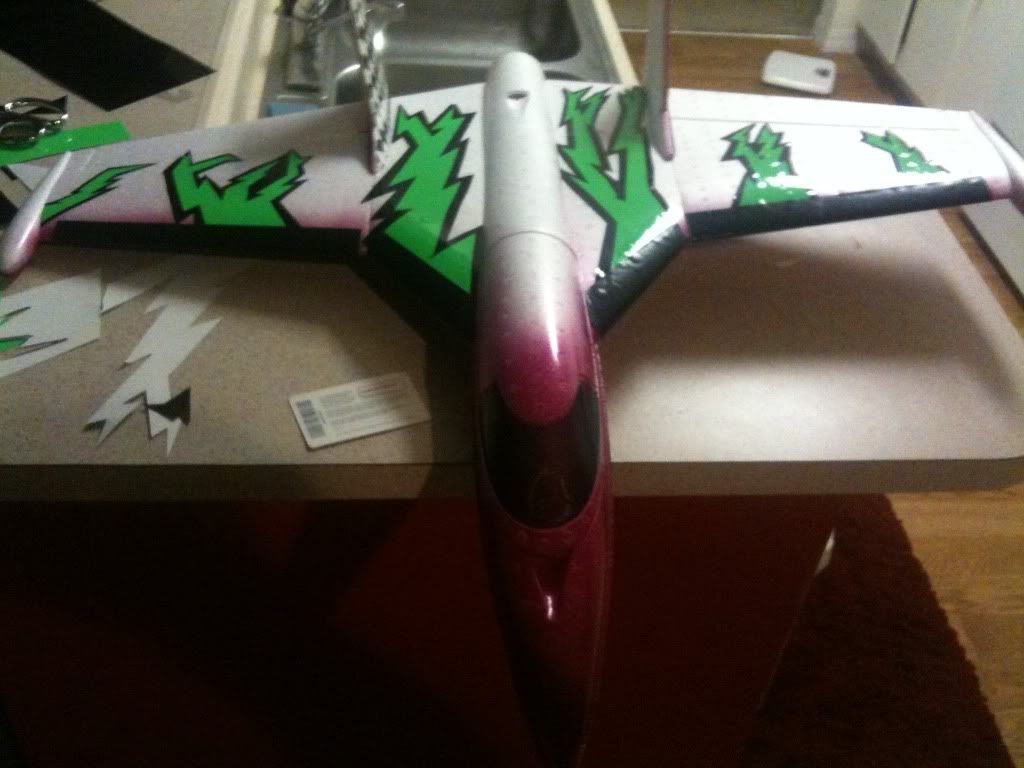
As far as the checkerboard goes, I laid the stab on the backside of the checkerboard decal and traced the design. You have to think about which side is getting stuck to which and the fact that you're tracing on the back of the checkerboard decal.
Then I cut it out, applied it, and then trimmed it with scissors so it fit nicely. I had an issue with the edges pulling up on the leading edge of the stab so I used a little CA glue and activator spray to tack it down permanently:
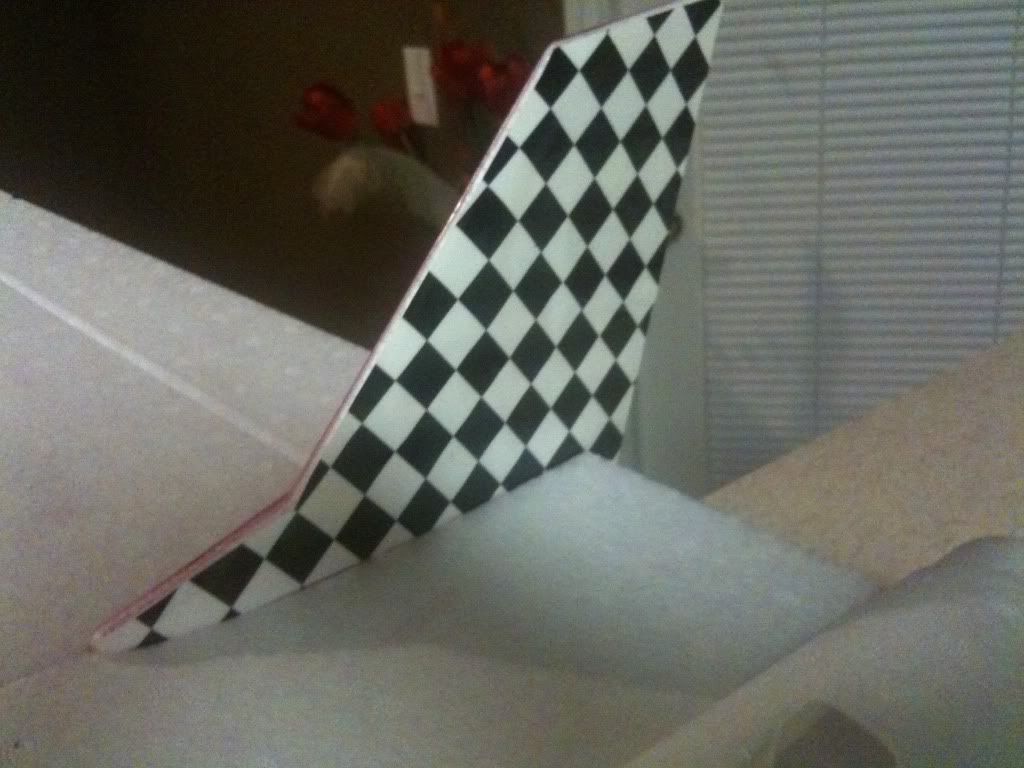
When all is said and done and the paint has dried overnight, I shoot the bottom with a clear gloss coat. I've found that this will help prevent the color from peeling off the bottom when you land in rough grass. You can shoot the top with clear coat if you want too - it won't hurt the decals and it kind of solidifies everything.
The whole Fun Jet design took me a full day and evening. I started around 10am, put the plane together, painted it and did all the decal work by the evening.
I hope this helps!