|
|
Post by Dave on Jul 18, 2011 18:50:54 GMT -6
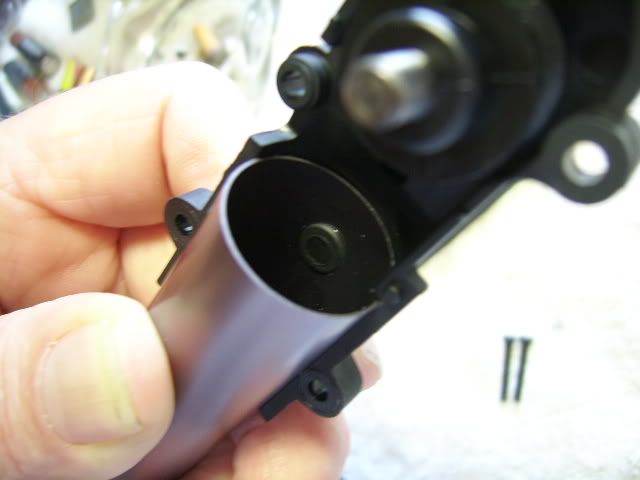
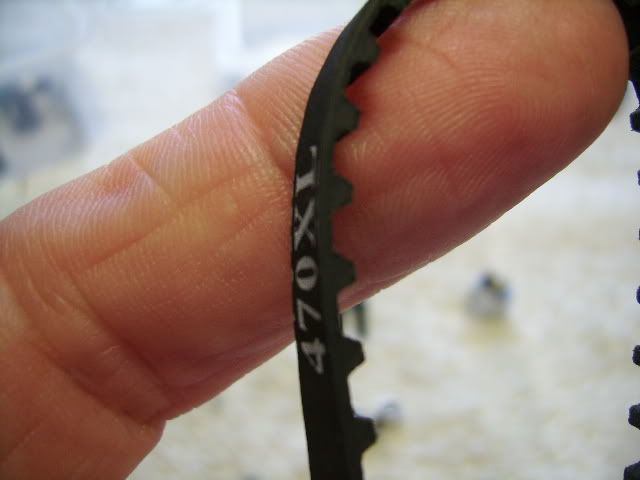
Well got around to the tail this past weekend and man is this thing huge. You can take the boom from a 450 and slide it inside the boom of the 425 and still have room for a small kid....... speaking of a small kid has anyone seen my youngest grandson lately. ;D For a plastic tail of this size this thing is very well molded. Most of the time I end up doing a little sanding on the edges to cut the mold fuse off but not with this one. These guys must have a very good QC department for inspection.  Like the rest of the heli all of the parts for the tail assemble comes in its own little plastic bag, so there is no guess work as to what is needed and the instruction are pretty well laid out and easy to follow. Here is a shot of what comes in the tail bag.  As far as the build up of the assembly it is pretty standard, this is the first time you actually have to install a bearing that is almost a press fit, into plastic to boot. But if your patient and wait until you have to put the two half's together they slide right on in as easy as pie.  One of the other nice thing about the tail assembly is that the right side of the tail gear case has a male "bump" that lines up with a hole in the tail boom so there is no mistake on the alinement.  The one thing I just noticed that they did leave out here is to install the drive belt before you close the two half's. Now talk about a belt, I believe this thing could run the blades on my riding mower. I mean this thing is heavy and thick. Makes a 450 belt look like a shoe string.  |
|
|
|
Post by Dave on Jul 18, 2011 19:17:43 GMT -6
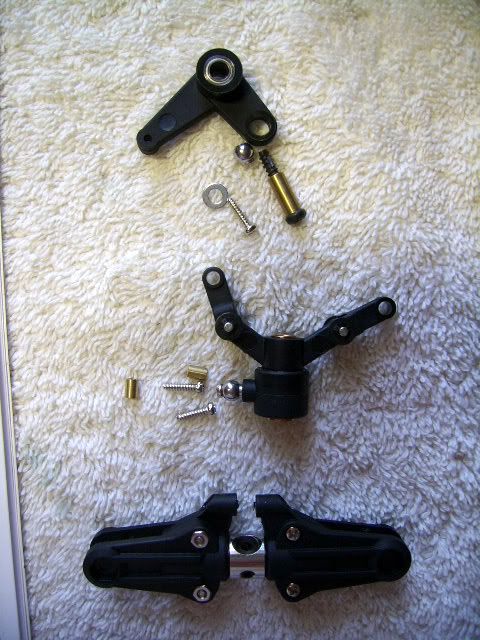
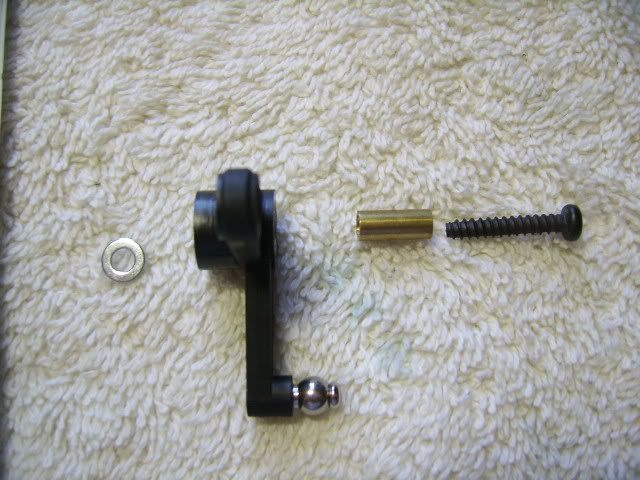
In this part of the assembly they have you assembly and install the following Blade grips, the hub, pitch slider and the pitch control lever. Once again all of the parts are gathered together and placed in their own little bag, no guess work again  As you can see most is already pre-assembled for you. The only exception is the pitch control lever and there all you have to do is install one ball, one self tapping screw, bushing tube and one washer when placing the assembly on the pitch slider.  Oh and be sure to check all the hardware that is installed before hand. I found that the two set screw didn't have a bit of thread locker on them from the factory . I think one of the guys on the inspection line must have been  when this part came buy his station.  |
|